Hello nice friends !
Each
year, my last December post is dedicated to our favourite 3 projects.
This is a good opportunity to wish you a very happy Christmas, and my time to look back on the things I
have made and pick my top 3. This year was so weird ! Anyway, I have chosen to pick great achievements, such as :
starting videos on my YouTube channel to help my friends doing art journal during the 1st lock-down. We have made 2 journals together, but I have chosen this very page because it represents the place where I am living now, which is so precious to me, especially this year !

I was also very happy to combine 2 supports I love to use : CDs and sardine cans on this project that shows many passions of mine : time, art, painting, and recycling. I consider this artwork as my #2 achievement.

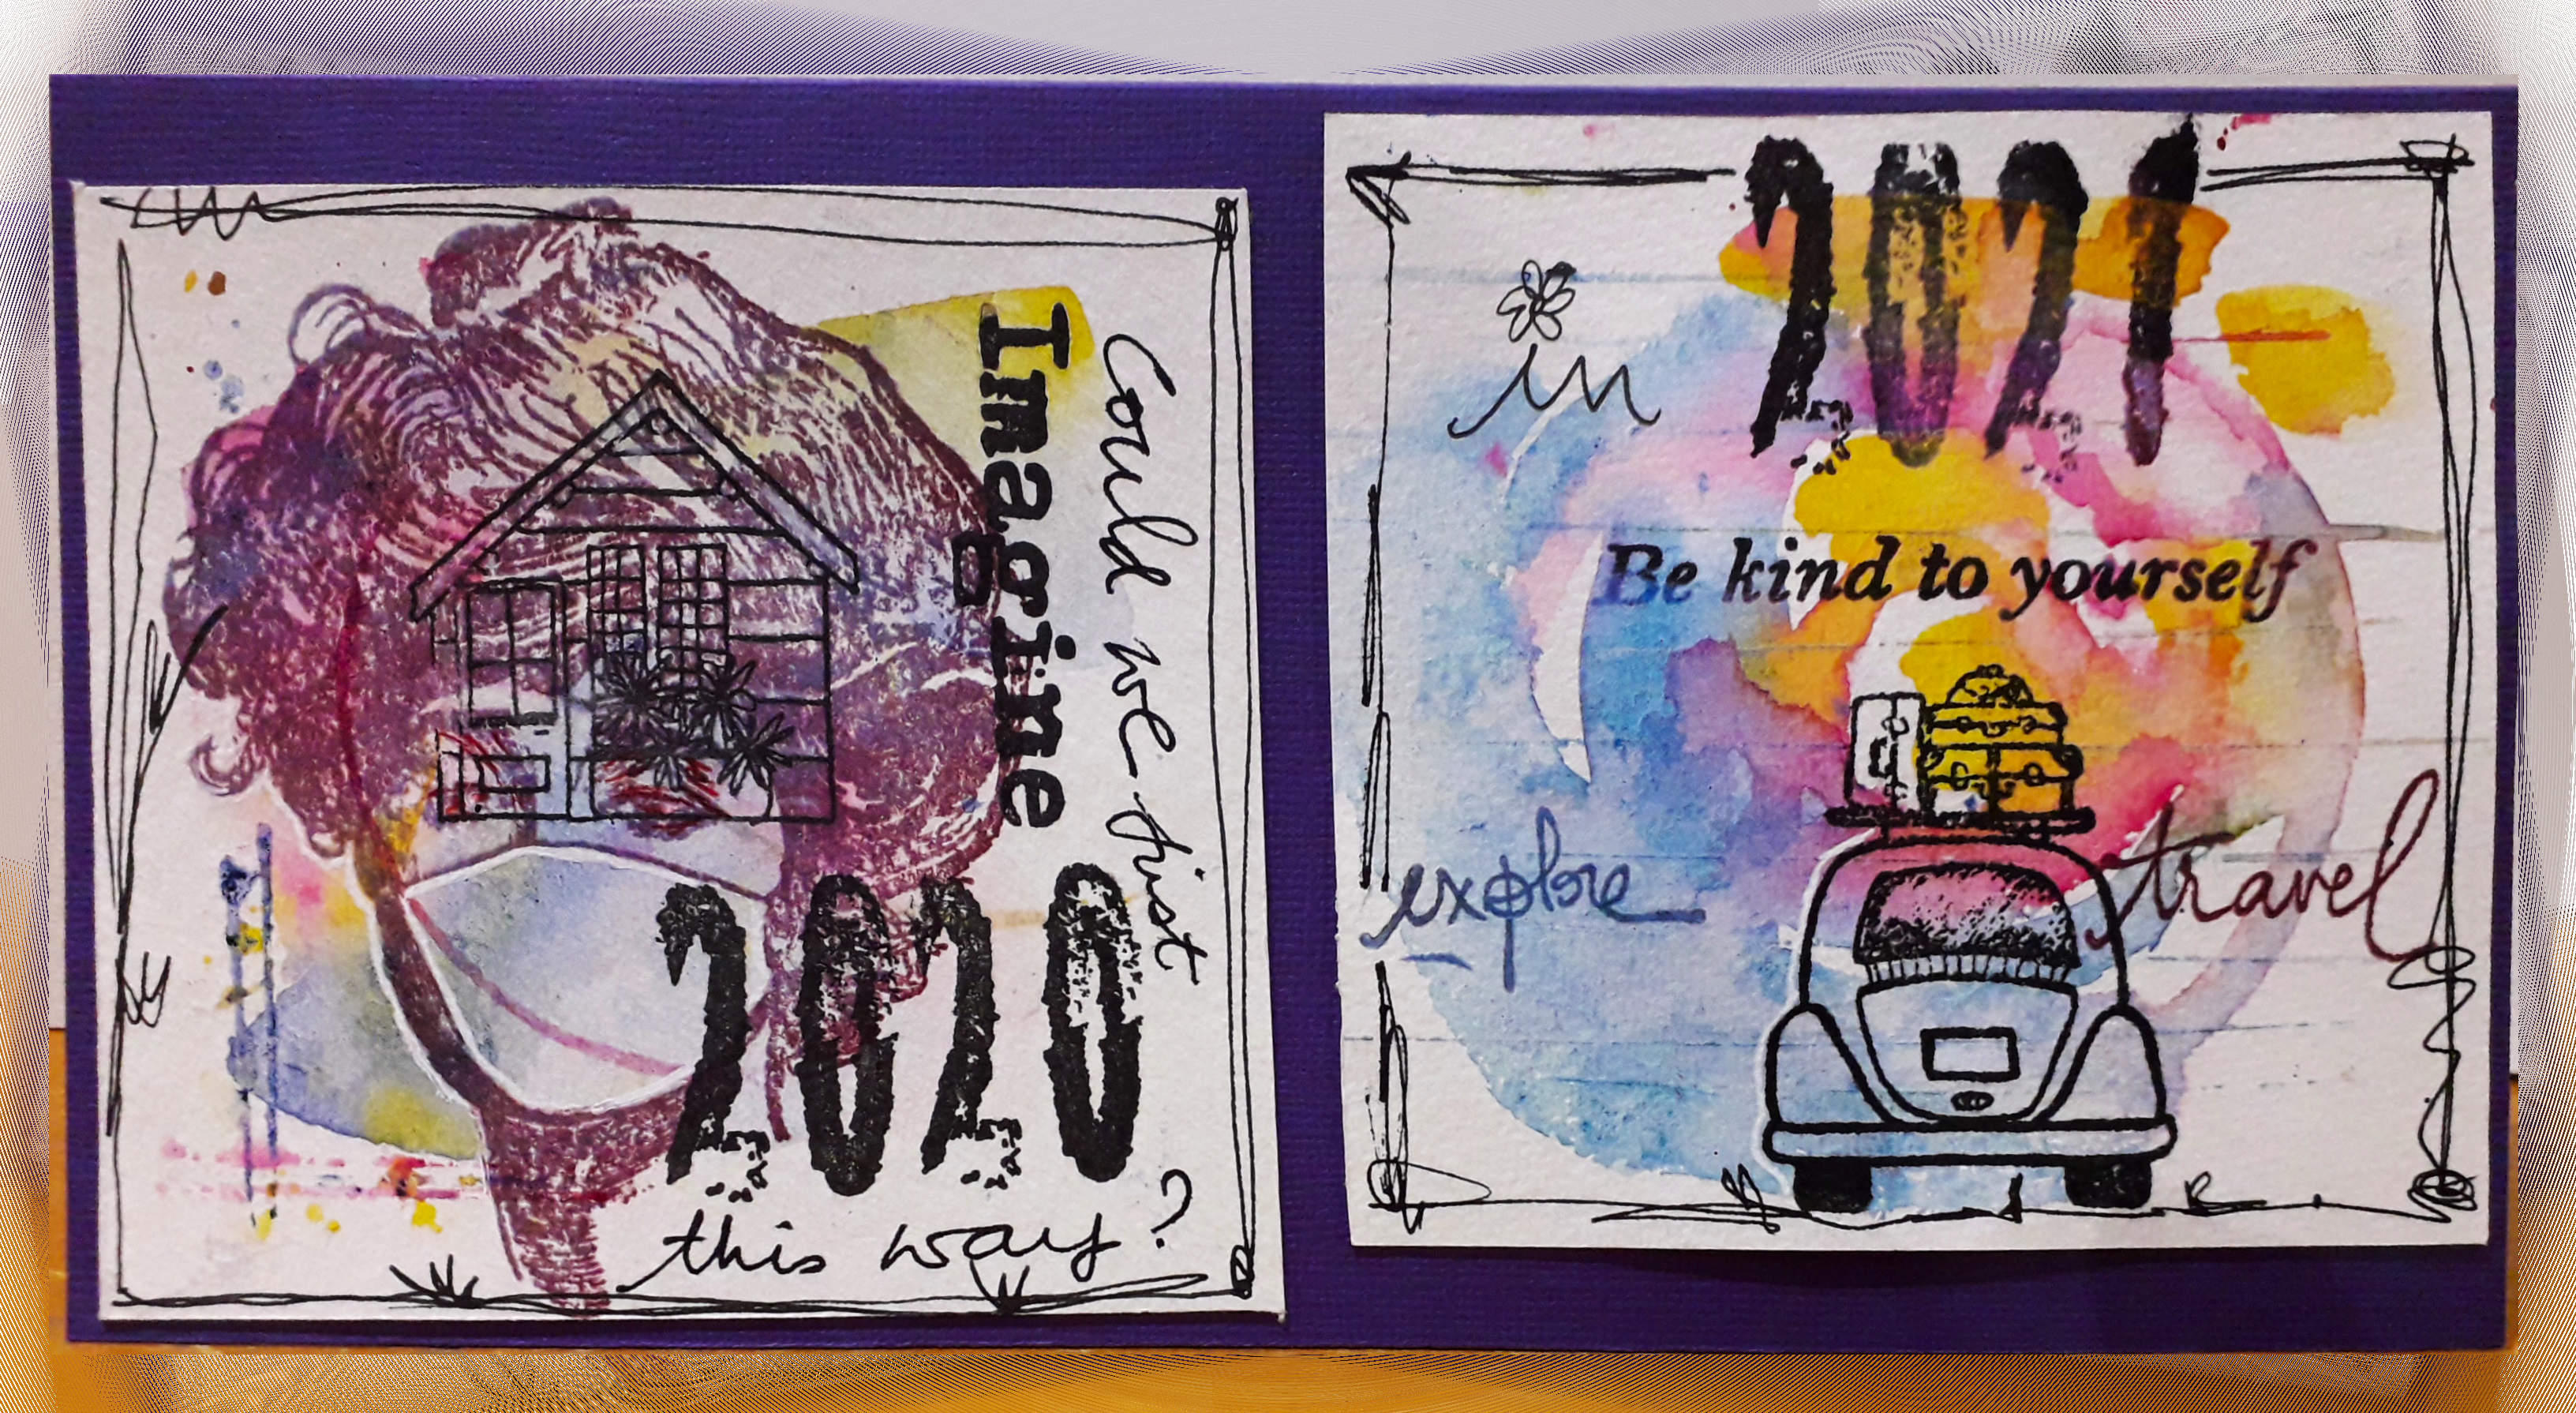
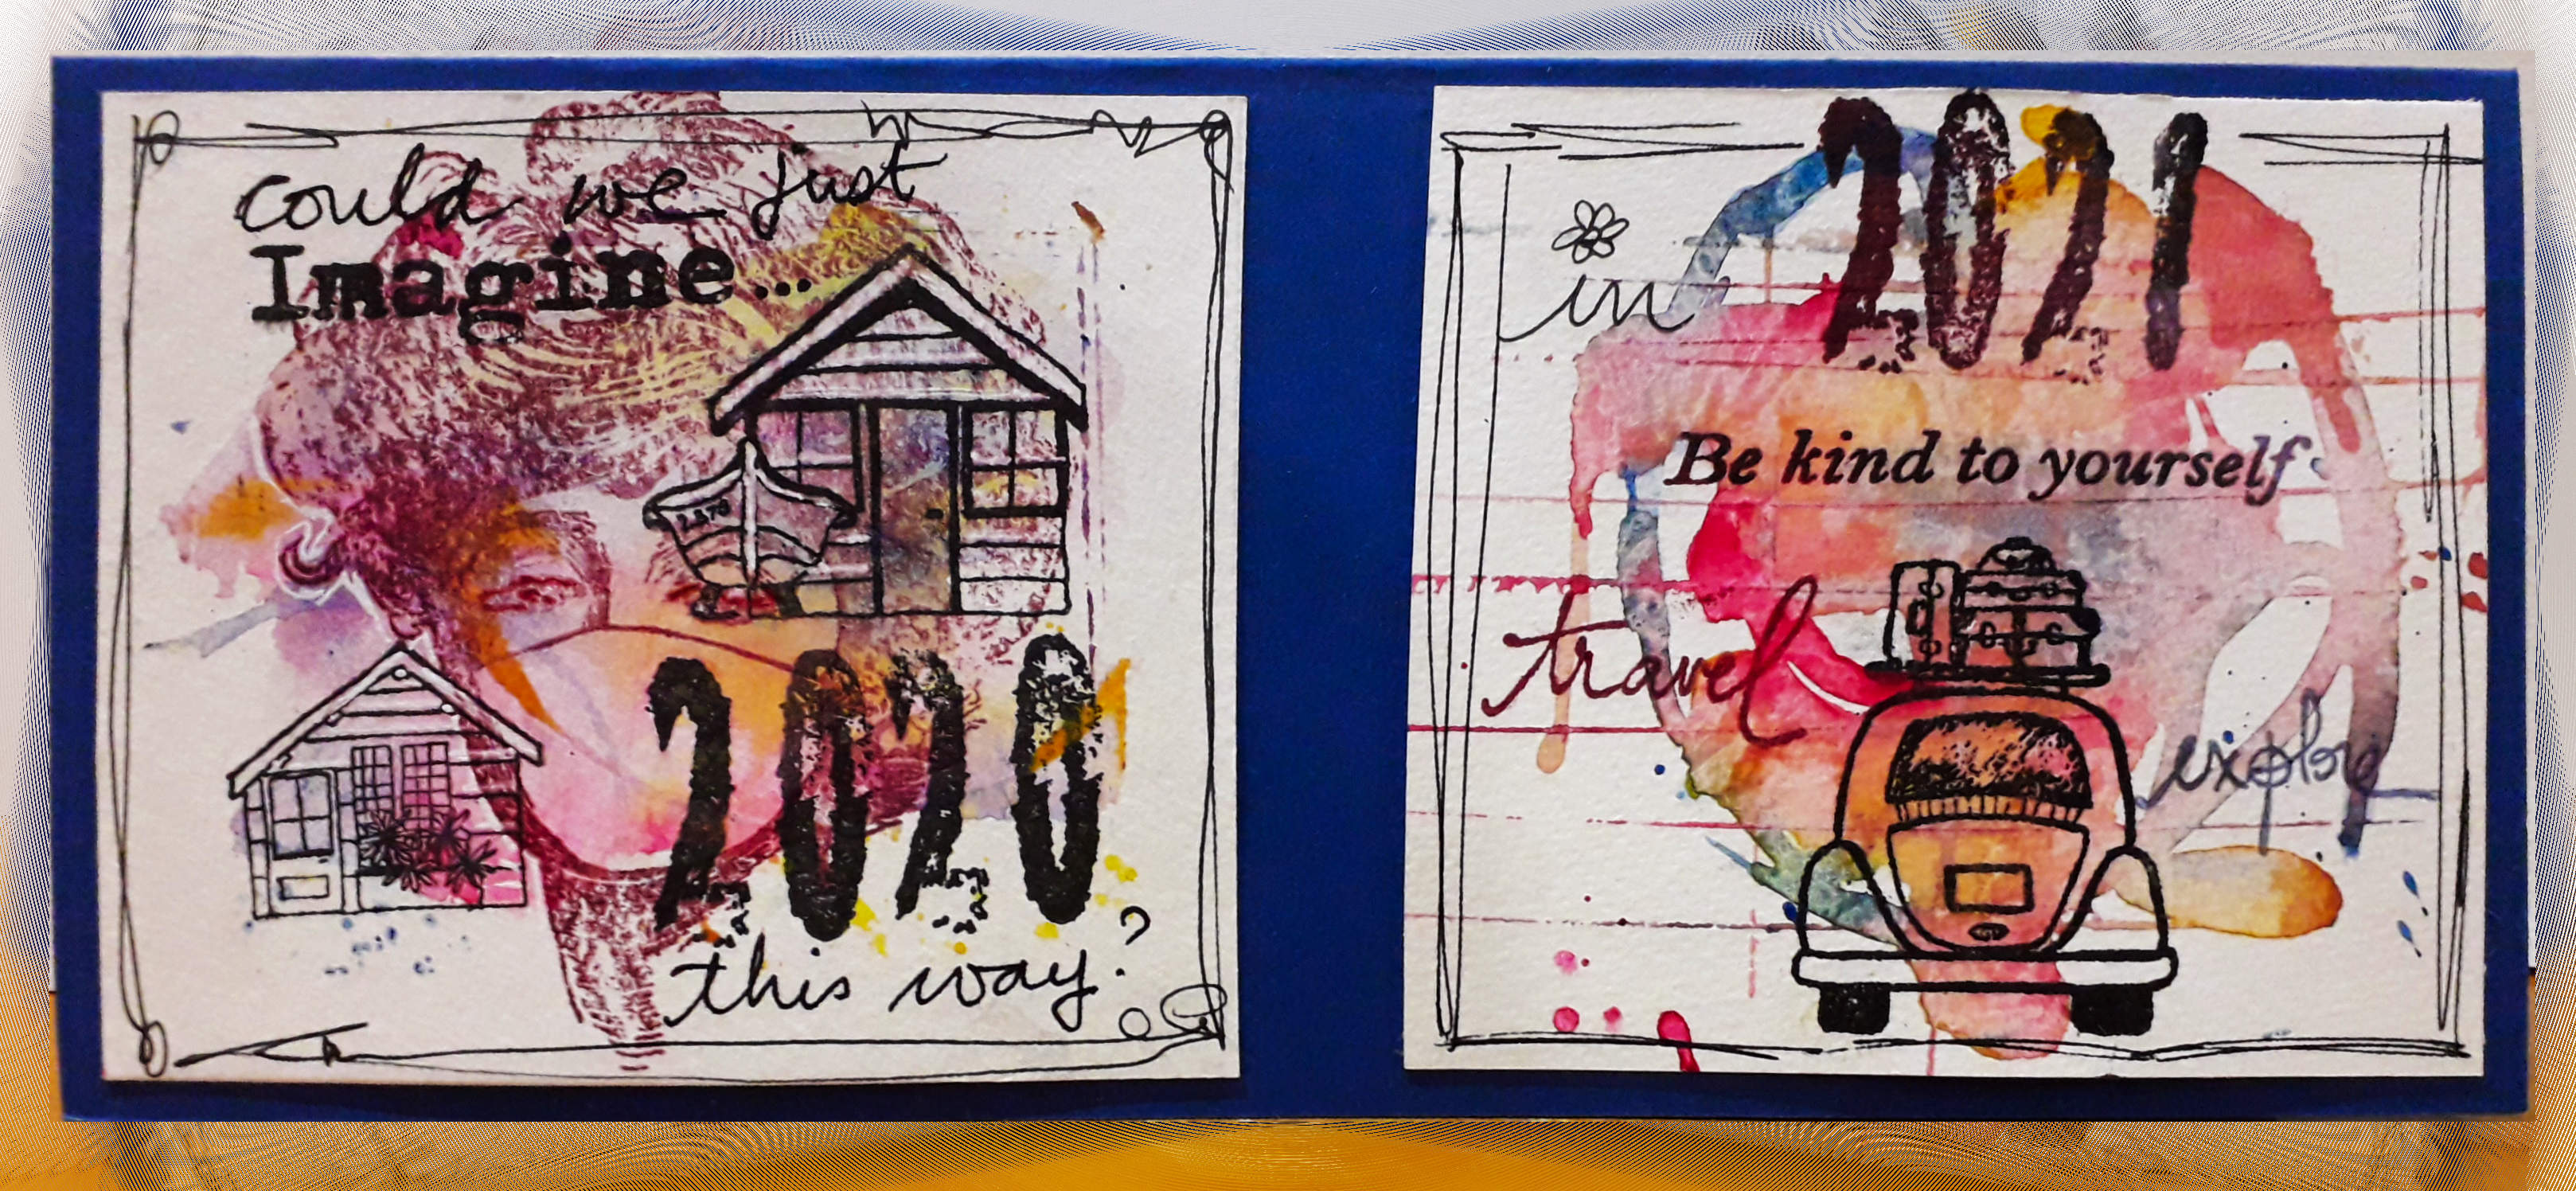
My #3 achievement was that the set of cars I designed has become a stamp set, which I am very proud of ! I have stamped them on my 2020 greeting cards, as a wish that we will soon be able to travel again...

I hope that many of you will participate in this very last challenge on this blog
I wish you a very happy Christmas, stay safe
xx Titbelsoeur